Creating dash tiles
The dash is the main area on the homepage. It can be customised with tiles that link to collections, searches, reports, or external resources. As the landing page for your whole system, using dash tiles can be a great way to help new users navigate material, browse new resources, and find information.
Because they can be configured differently per user group, dash tiles are highly versatile. For example, they can be useful for admins to keep track of system usage via tools like reports and watched searches. Dash tiles are also a great way to direct users to external templates and other useful documentation.
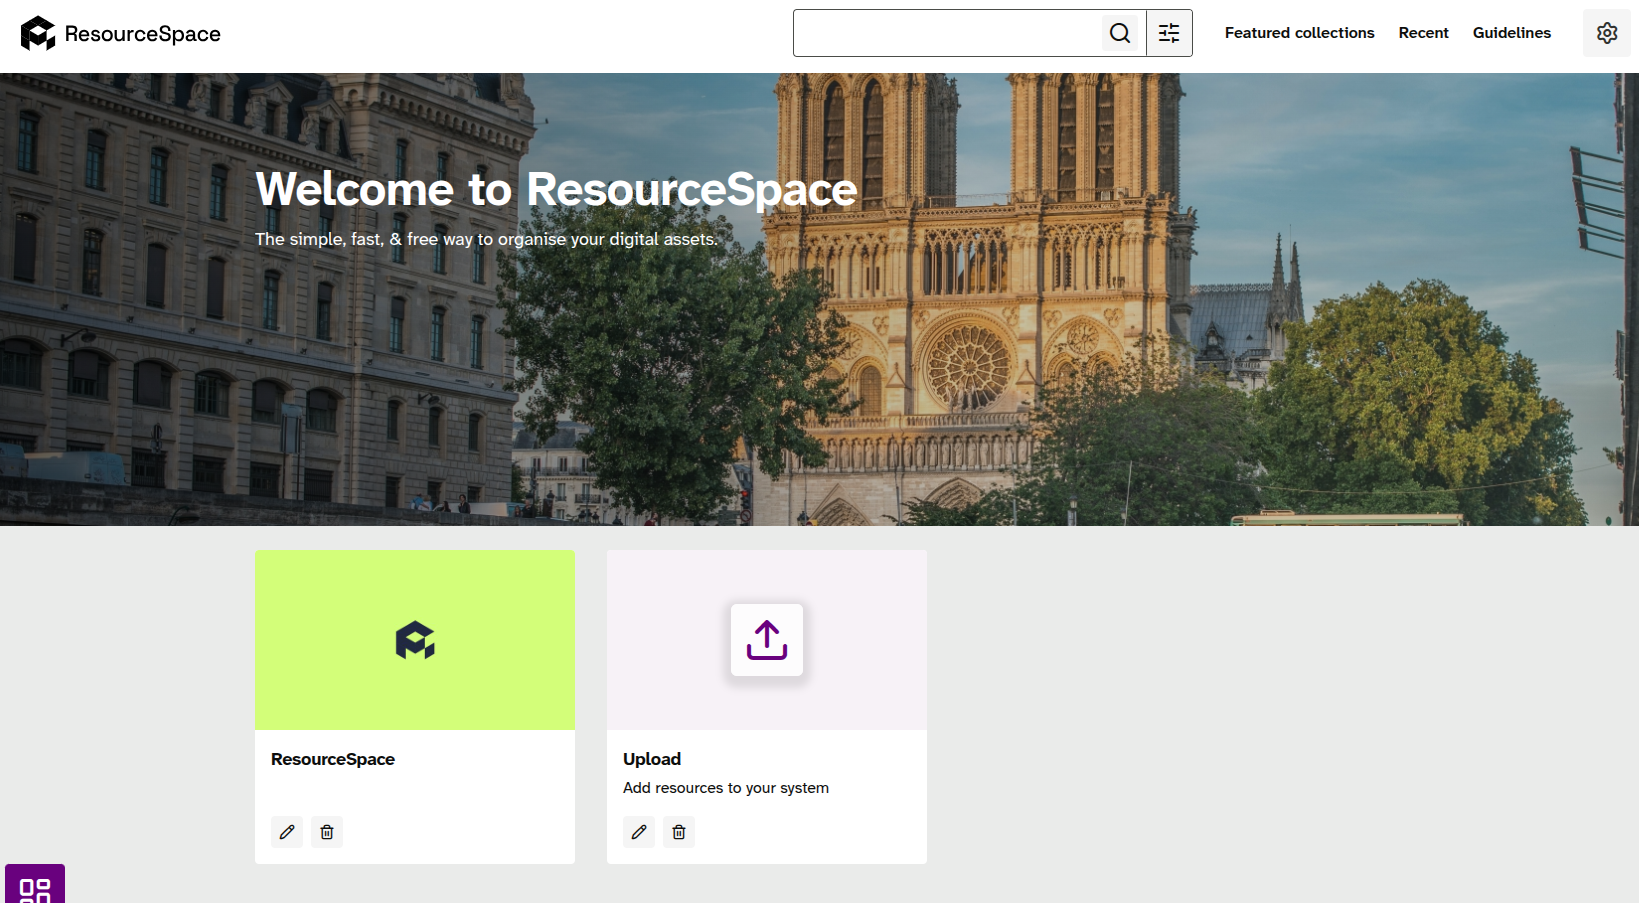
A popular way to use the dash is to publish collections as dash tiles. If you have lots of featured collections and are making the most of featured collection categories as well, it can be useful to publish highlights on the dash.
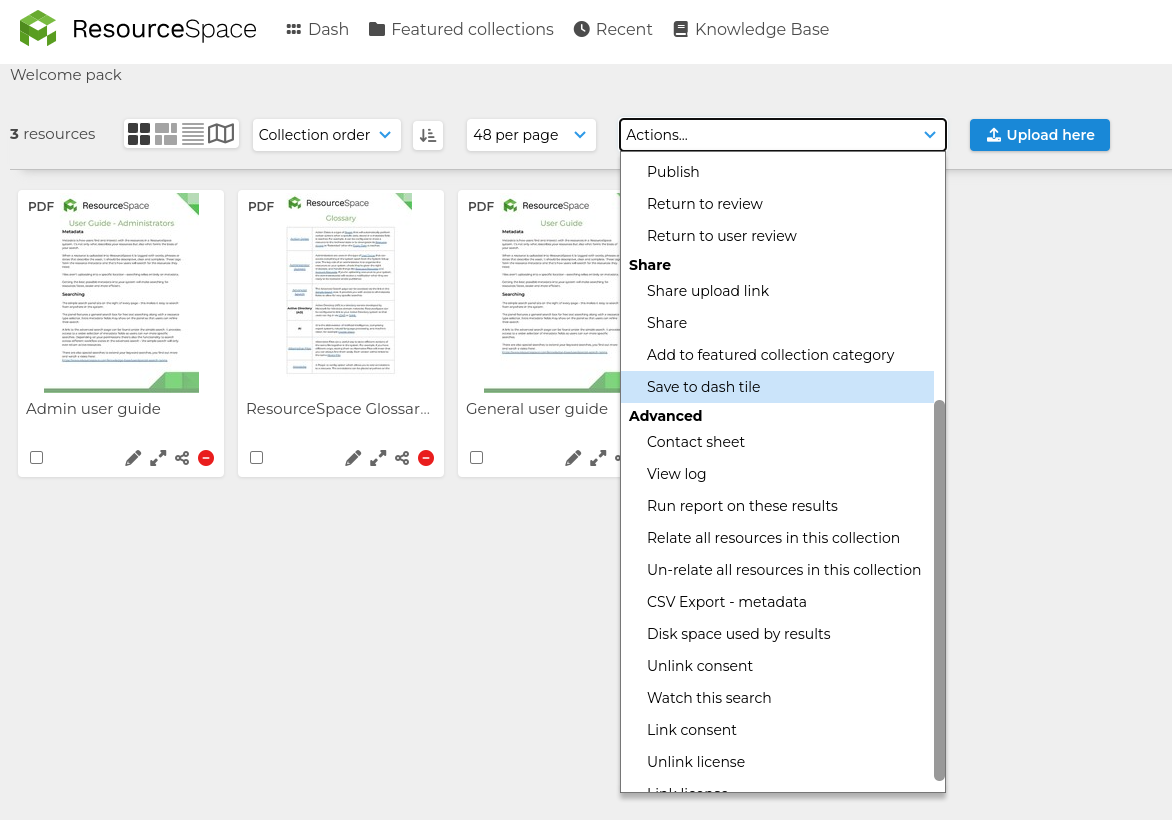
When viewing a collection, you can select ‘Save to dash tile’ from the ‘Actions’ menu:
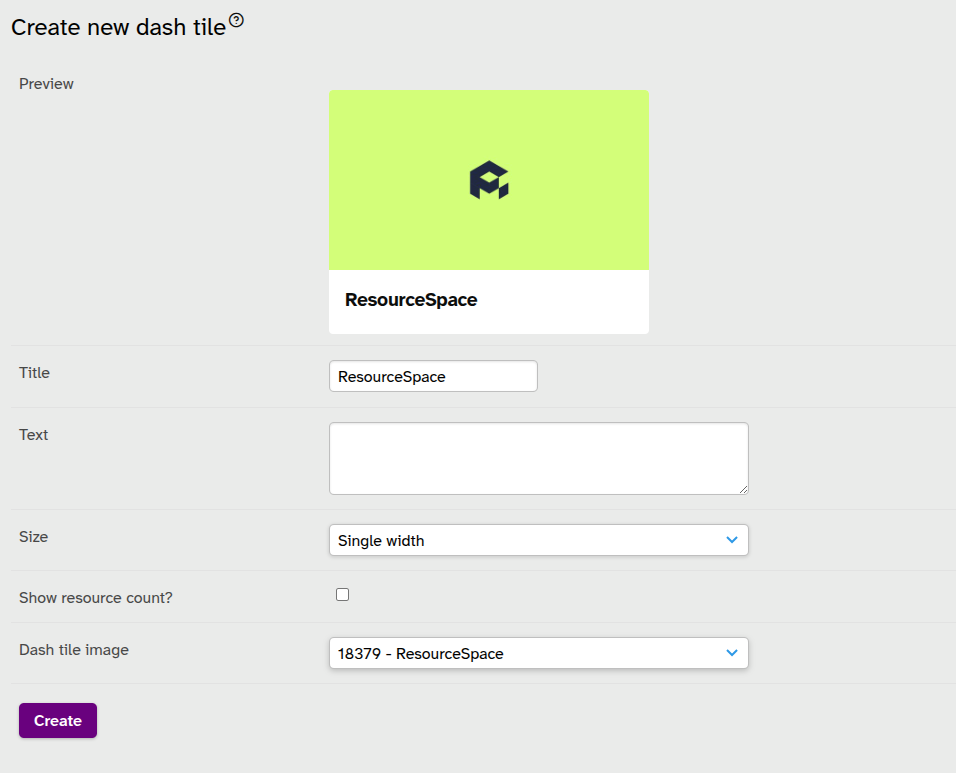
You can then edit the tile settings, including changing the title, adding a caption, extending the width on the page, and choosing which users can access it - everyone, just you, or selected groups.
Next to ‘Dash tile style’, choosing ‘single’ will show a single image from the collection as the tile background - select the image you’d like to use from the drop down menu. You can also show multiple thumbnails as a ‘stack’, or keep it blank to match your welcome text.
Additional dash tile formats
Another useful type of dash tile is a watched search tile. If you run a search and then choose ‘Save to dash tile’ from the Actions menu on your search results page, a shortcut to that search will be saved to the dash.
Additional formats can be managed via Admin>Dash tiles>Special dash tiles:
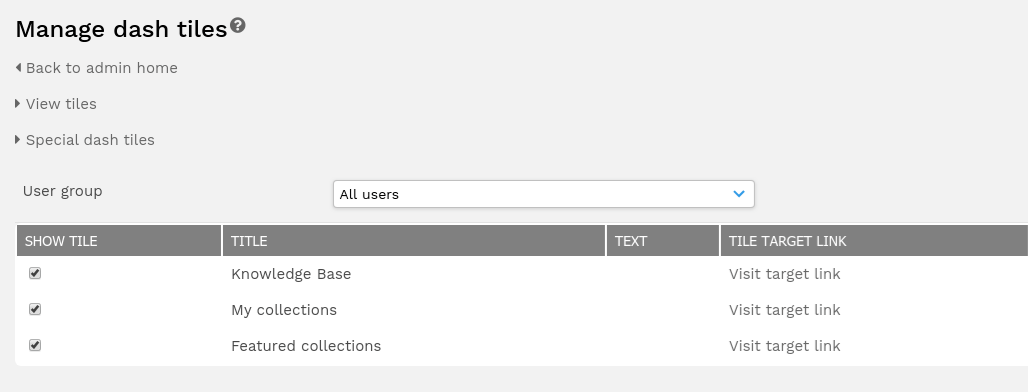
From here, you could create a text only dash tile and include a hyperlink to a useful external page, for example. There are also preset tile formats, such as links to the ‘pending review’ workflow state, or a useful featured collections selector.

Dash tiles can also be created to show analytics. After running a report in Admin>Analytics, select the ‘Add to dash’ option next to the report graph that you’d like to publish on the dash.
Dash tile permissions
By default, admins can manage their own dash and set tiles for themselves, all users, or custom groups to see. Other user groups can also be given permission to customise their own dash, to remove and reorder existing tiles, as well as create their own.
With this permission, users can drag dash tiles to reorder them, or delete them by dropping them on the trash icon when a tile is selected. Hovering over the tile also displays the ‘Edit’ and ‘Delete’ options.
All dash tile options
- Title - the title is a place to put a short word or phrase for that tile. It will appear in much larger text at the top of the tile.
- Text - text is a place to put a more extensive description of what the tile links to. If you just want one long title then you should leave the title field blank and just enter text. This will then appear as the header but in a smaller font to allow for more text.
- Dash tile style - select how you would like your tile to appear from several options. If there is only one way that it can appear then this option will not show.
- Resource count - this will display the number of resources that are included in that tile in the bottom right hand corner. This will appear for collections and search type tiles.
- Dash tile image - if you are linking to a collection of some sort then you will be able to select a resource that you would like to use as the main dash tile image from within that collection. If that resource is then removed it will default to the first resource available.
- Push dash tile to all users - with the correct user permissions you can give this tile to all users. They will then have this tile appear on their dash too.
Once you have clicked "Create" the dash tile will be added to your homepage to be accessed at any time.