
Fairtrade communications staff around the world really appreciate ResourceSpace. It's proven invaluable as a one-stop for sharing and storing all our images and brand assets. I don't know how we'd manage without it!
Blog
13th December 2023
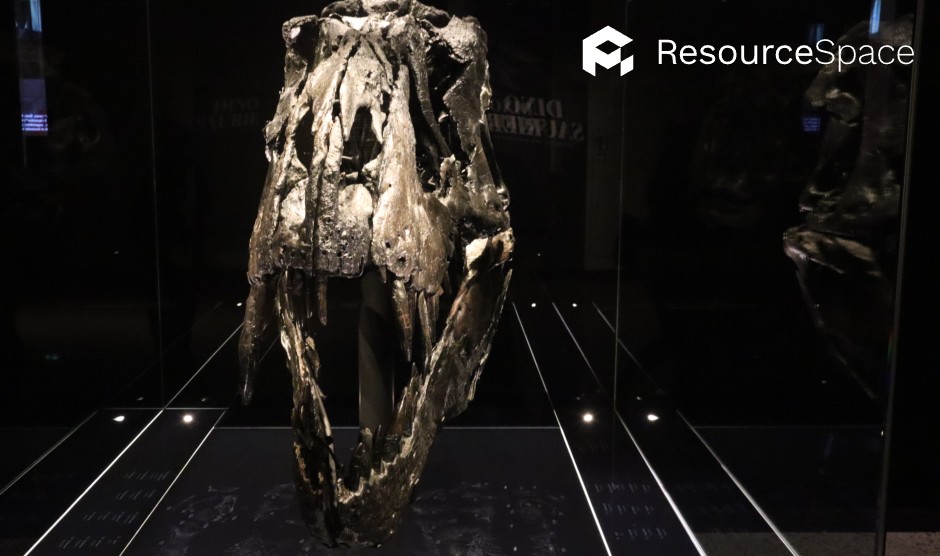
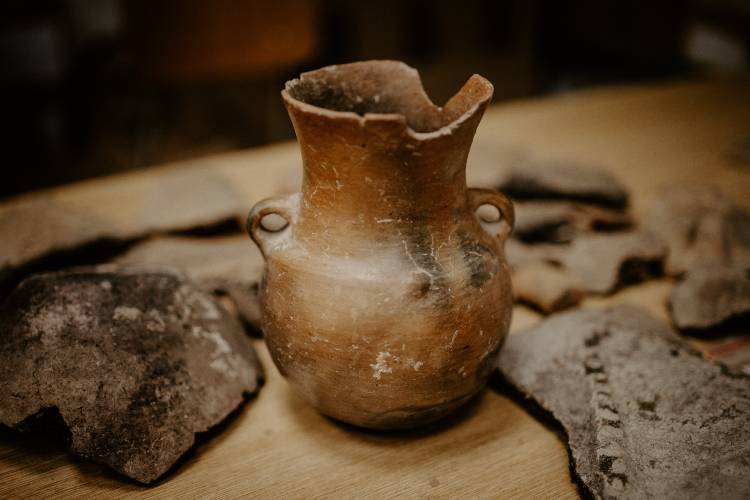
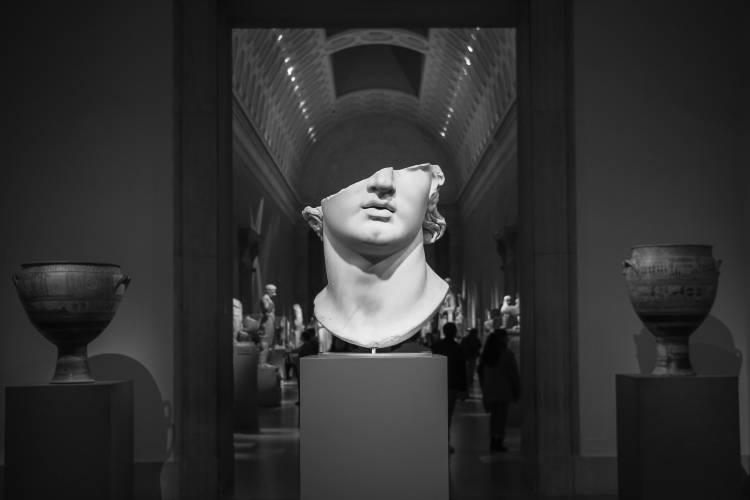
Museums and heritage institutions bring history to life, not only educating us about the past but inspiring us into wanting to learn more—and physical artefacts are key to that.
While textbooks can provide all of the information, actually seeing an artefact in the flesh—whether it’s a piece of ancient jewellery, dinosaur skeleton or medieval suit of armour—evokes the emotional response that makes museums so popular with the public.
So, if it’s the tangible nature of these artefacts that is so important, why should we be ‘digitising’ them in the first place?
Let’s start by defining what we mean by digitisation.
The Digital Preservation Coalition (DPC) states that digitisation is ‘the process of creating digital files by scanning or otherwise converting analogue materials.’
That’s a pretty clear and simple definition, but it’s also somewhat vague. ‘Digital form’ could mean a number of different things: a single image of an artefact, 360-degree video recording, a 3D-generated model. The list goes on.
These examples could all be considered ‘digitisation’, but what it looks like for you will depend on the objectives of the digitisation project.
There are a number of benefits to digitising collections of physical artefacts.
Heritage institutions do their very best to protect the condition of artefacts, whether that’s how they’re handled, stored or transported.
Unfortunately, even if the utmost care is taken with them, these artefacts are still vulnerable to damage from events outside of the institution’s control. By creating comprehensive digital records you can at least guarantee some degree of long term preservation even if the artefact is lost, stolen or destroyed.
Archivists are thoroughly trained in how to handle ancient artefacts, but any amount of physical interaction or exposure to environments that aren’t completely controlled leads to the risk of damage and degradation.
However, if a museum has a complete, high resolution digital record of the piece any study or inspection can be carried out without needing to physically handle it.
For example, academics may wish to study the text of an old manuscript for research purposes. In the past, this work would have to be carried out by handling the physical pages, risking damage either from a handling error or exposure to the air. However, if it’s been fully digitised, the images are all that’s required for the manuscript to be studied, meaning the actual document can remain within a controlled environment.

There’s nothing quite like seeing an ancient artefact in real life for building excitement of learning about our history, but digital versions of those collections still offer a huge amount of value.
First of all, they’re essential for promoting the collections in the first place, whether that’s on social media, a museum’s website, or leaflets and posters.
What’s more, they allow people all over the world to learn about them. While museums are great for people that live locally, school trips or tourists, there’s still a huge number of people that would never be able to see an object if it only existed as a physical artefact. The Mona Lisa might be the most famous painting in the world, but how many people have actually seen the real thing?
There are various reasons that museums and heritage institutions digitise physical artefacts. From preserving ancient and fragile assets for the long term to promoting them to a global audience, it’s an essential part of the work these organisations do.
Just as there are standards for how metadata is used to describe assets, there are also global standards for the digitisation and archival of assets.
In this article we’re going to look at four frameworks that are specifically used for physical artefacts.
Originally developed for space agencies, the ISO Open Archival Information System (OAIS) Reference Model has since proved valuable for a range of organisations and institutions that work with digital archiving.
The main drive behind OAIS was to develop an open system to ensure preservation - this means that the model needed to be available in public forums. As Brian Lavoie puts it, the use of the word ‘open’ in OAIS refers to the fact that the model and future recommendations associated with it are developed in these open forums; it doesn’t “make any presuppositions concerning the level of accessibility of information in the archive”
The model supports the development of additional digital preservation standards because it’s designed as a conceptual framework. This means it doesn’t rely on any particular kind of technology or interface in order to be accessed.
The OAIS standard has been considered the optimum standard to create and maintain digital repositories since its publication in 2005.
Physical artefacts are digitised to ensure their long term preservation, but the digital object also needs to be maintained. This is where PREMIS comes in.
The PREMIS Data Dictionary for Preservation Metadata is an international standard for metadata that’s been designed specifically to support the preservation of digital objects, and is implemented in digital preservation projects all over the world. PREMIS defines a set of metadata that most repositories of digital objects would need to record and use in order to preserve those objects for the long term. This preservation metadata can be categorised as ‘administrative’, ‘technical’ and ‘structural’, but more specifically as metadata that supports core aspects of preservation: making sure the objects remain viable, renderable, understandable, authentic, and can be uniquely identified.
According to ‘Understanding PREMIS’, "the primary uses of PREMIS are for repository design, repository evaluation and exchange of archived information packages among preservation repositories."
PREMIS consists of the Data Dictionary and an XML schema, along with support documentation and a working group, where revisions are co-ordinated by the PREMIS Editorial Committee.
The Federal Agencies Digital Guidelines Initiative (FADGI) offers a “sustainable set of technical guidelines, methods and practices for digitised and born-digital historical, archival and cultural content.”
The aim of FADGI is to enhance the exchange of research, encourage collaboration between U.S. federal agencies and institutions, and ensure consistent quality. The guidelines include criteria for assessing digital image quality for a variety of different object types, including rare and special materials, manuscripts, artwork, and transmissive materials such as film and x-ray.
Metamorfoze is the Netherlands’ national programme for the preservation of paper heritage. As well as co-ordinating projects and providing advice to participating institutions, Metamorfoze is also involved in setting up research, building contacts within Dutch and international organisations, and sharing information.
As a part of this work, the Metamorfoze Preservation Imaging Guidelines set out the requirements for preservation images commissioned for Metamorfoze.
Broadly, there’s a four step process to digitising physical artefacts:
Step 1: Scoping the project
Step 2: Creating the digital assets
Step 3: Cataloguing the digital assets
Step 4: Managing the digital assets
Let’s look at each step in more detail.
The process of creating digital versions of physical assets is more complex than simply taking some photos and uploading them to the cloud. Digitisation is best tackled on a project-by-project basis, but these projects will only be successful if they’re properly defined with clear objectives from the outset.
With this in mind, start by scoping out each element of the project. Some key things to consider:
You’ll also need to plan the resources required for the project, including the people involved at various stages, budgetary requirements, timescales and the full project workflow.
READ MORE: 4 standards for digitising artefacts
Typically, an institution will create digital images of physical artefacts in one of three ways:
In the case of 1 and 2, you’ll need to ensure these photos are taken in accordance with your photography guidelines which will help to create aesthetic and quality consistency, but you’ll need to be aware of licensing and usage rights when it comes to images taken by third-parties. These permissions should be documented clearly when they’re uploaded to your Digital Asset Management system.
During the scoping stage you should have determined what needs to be captured for each object. For example, a single image might be enough for marketing purposes, but if the objective of the project is to make studying the artefacts easier then high resolution pictures will need to be taken at multiple angles.
Identifying the level of care each object requires during the image creation step is also key. What type of conditions can the object be exposed to? How does it need to be handled and how will it be transported to and from the location the images will be created?
This step is the most important of the process, but it’s also where the physical object will be at most risk, so it’s essential that you’ve fully planned the end-to-end journey.
To get the most value out of your digital assets you need to know where they are and what they are, which is why the entire digitisation process can fall down if they’re not catalogued correctly.
File formats
The first thing to consider is the file format of the original (or master) digital asset, otherwise known as the ‘capture format’. For photographs, this will usually be JPEG or RAW, while scanners typically capture images as JPEG, TIFF or PDF.
For the master files you’ll want to capture the images in the maximum quality that the camera or scanner is capable of producing, while remaining within the capabilities of your IT and archiving infrastructure.
For creating an archived master image, there are two approaches you can take:
In both cases the archived original should be saved in an open standard format such as TIFF or DNG to ensure a high quality of image.
You then need to think about the ‘working formats’ of the assets, which will depend on how the assets will be processed post-capture and how you intend to use them. It’s important to separate these working formats from the original master, and make that clear in the file naming convention.
The working format files will typically be either JPEG, PNG or JPEG 2000, but be aware that the quality of JPEGs can degrade when saved multiple times.
File naming
Define a clear file naming convention for your newly created digital assets. Best practice is for each image to have a unique file name that’s as short and simple as reasonably possible. The use of tags, keywords and suffixes such as ‘fs’ (full size) and ‘tn’ (thumbnail) can help to keep file name length down.
You also need to ensure the file name can be understood by someone new to the institution in the future, while it also needs to be future proof. For example, use ‘001’ rather than simply ‘1’ to allow for a greater number of options.
Folder structure
A clearly defined folder structure is also important for effectively cataloguing digital assets, with the best practices here similar to that of naming conventions. The folder names should be clear and future proof, as well as consistent across different projects and collections.
Metadata
Logical file names and folder structures are important and make finding assets easier, but metadata takes the searchability of digital assets to the next level.
By tagging images with relevant keywords, they can be discovered without having to know the file name or where it’s located. This DAM functionality is incredibly powerful, and can be used to find types of images (for example ‘Roman coins’) or images of specific artefacts.
READ MORE: 4 Metadata best practices for Digital Assets
Metadata offers a massive scope when it comes to categorisation, but like with file names, you still need to define conventions for each metadata field in order for them to be useful.
Some tips for creating your metadata naming convention include:
It’s important to note that the option to tag images with metadata will only be available if you have a dedicated DAM system. File storage solutions such as Google Drive or Box do not allow for metadata tagging or advanced search functionality.
Once the digitisation process is complete and the assets are stored within a DAM or similar platform, they still need to be managed effectively to preserve their quality.
Just like with physical artefacts, you need a preservation strategy to ensure the collections are sustainable and keep pace with the latest technology and file formats, while safeguarding against the loss of digital assets in the future.
Digital preservation needs to include a backup strategy for your digital assets, including archive files, that’s executed by either your IT provider and/or collections software and DAM.
If you’d like to find out more about how ResourceSpace supports the digitisation of physical artefacts, as well as why we’re trusted by the likes of the History of Science Museum, Historic England and the Walters Art Museum, get in touch with the team today.
Alternatively, book your free demo below and we’ll show you how ResourceSpace will help preserve and share your digital artefacts.
#Digitisation
#Museums
#Heritage
#Preservation
#DigitalRecords
#Collections
#LongTermPreservation
#DigitalArchives
#CulturalHeritage
#DigitalPreservation
#DigitalArtifacts
#BestPractice
Fairtrade communications staff around the world really appreciate ResourceSpace. It's proven invaluable as a one-stop for sharing and storing all our images and brand assets. I don't know how we'd manage without it!
ResourceSpace has empowered our staff to find and access the content they need independently while allowing us to keep centralised control of assets and metadata.